poca-SMLM
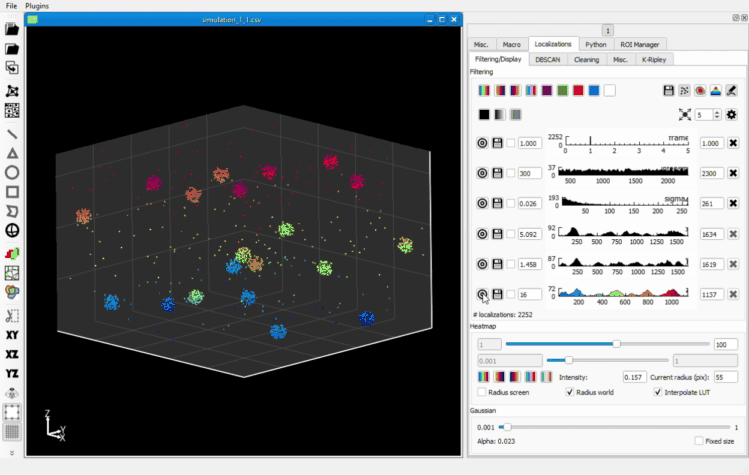
After loading a CSV file, a new window opens with the point cloud displayed. The Filtering/Display tab in the Localizations tab allows to filter features and change the point cloud visualization mode.
Visualization
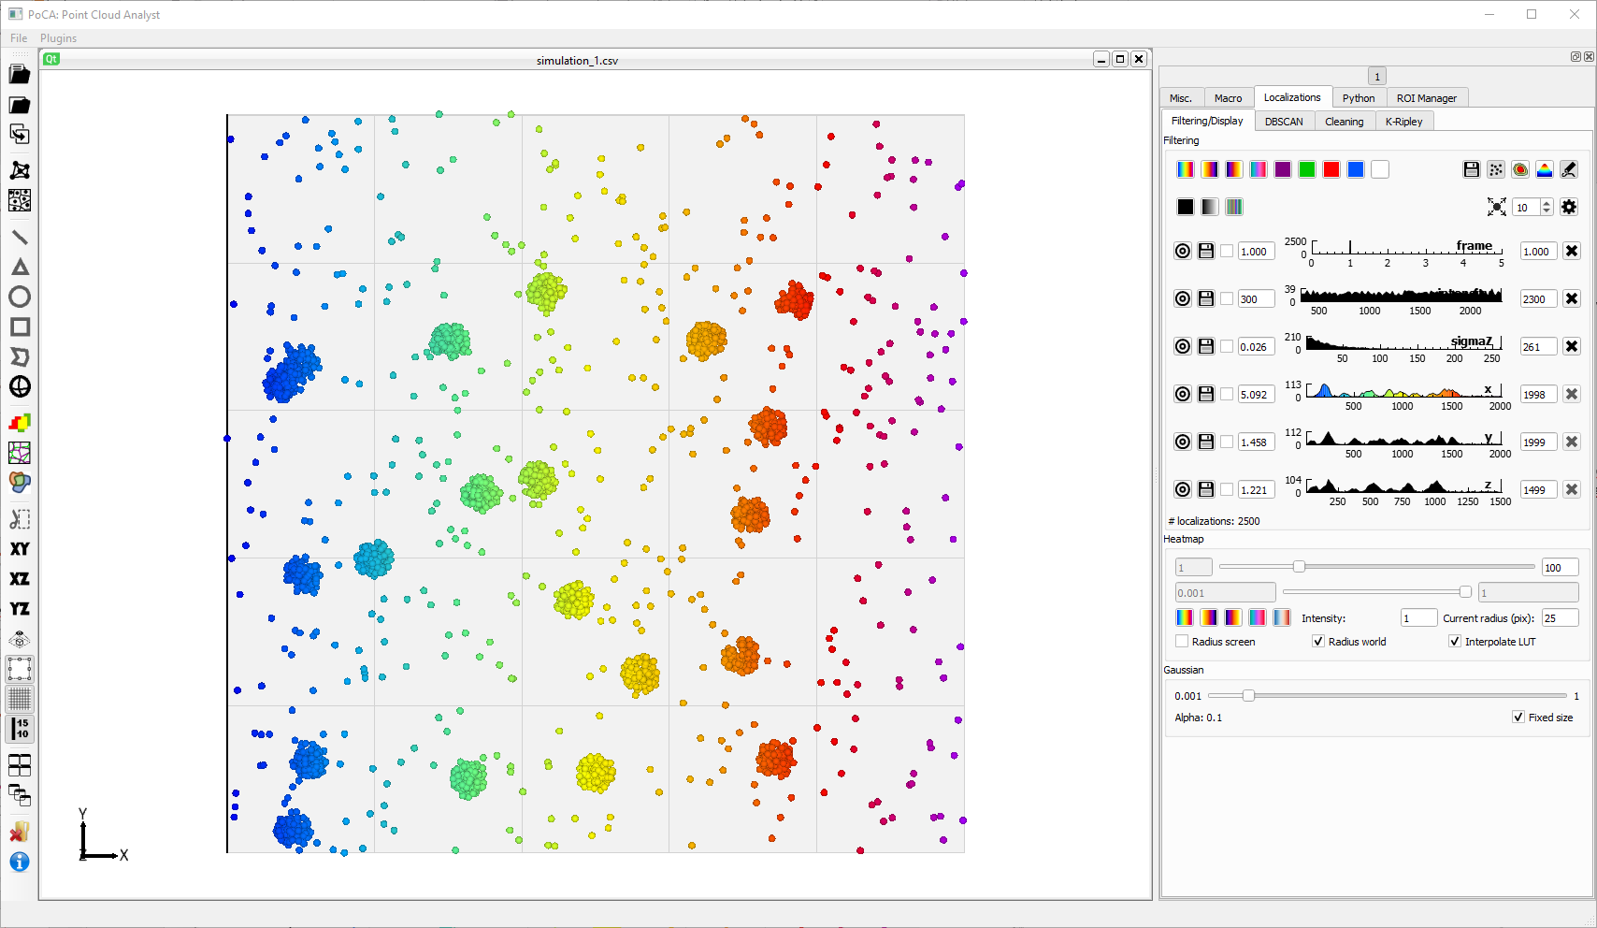
In the Filtering section, we have:
These buttons allows to change the LUT applied to the chosen feature.
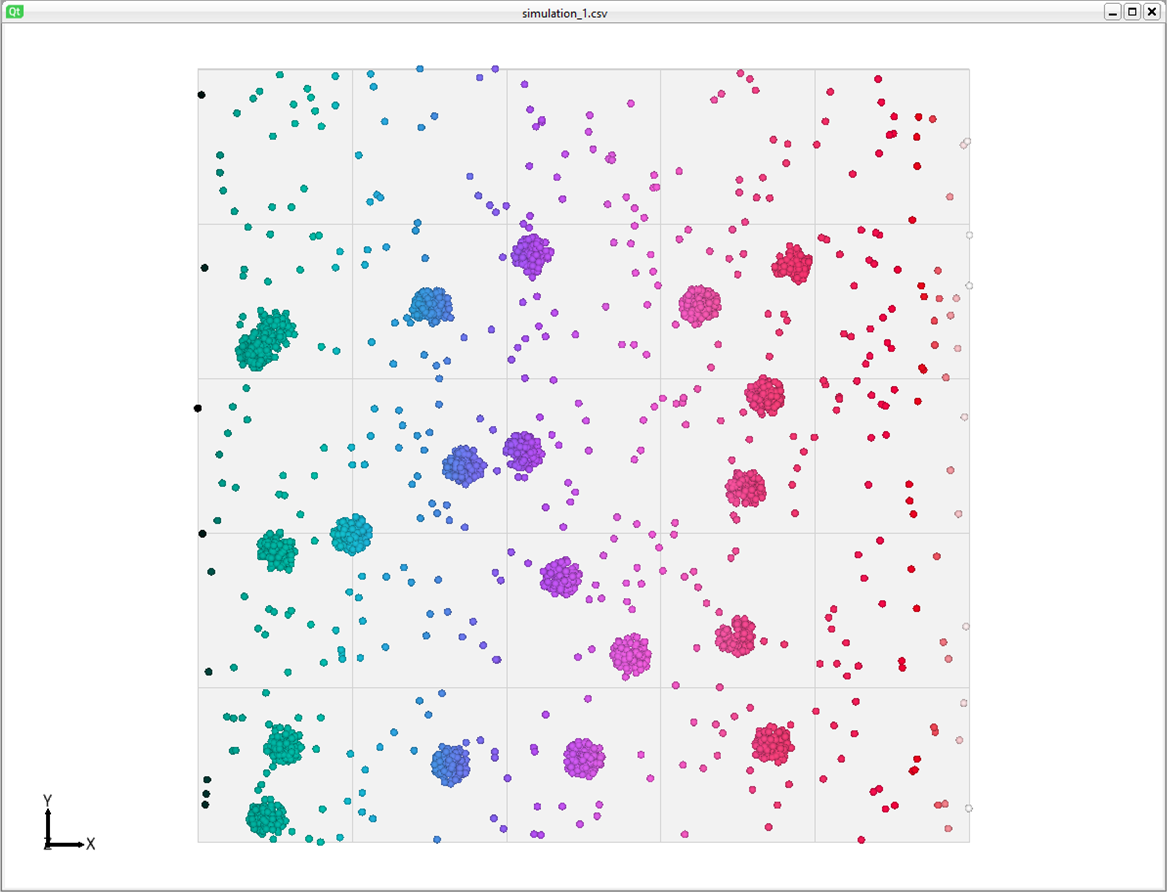
The LUT was changed from HotCold to Ice.
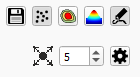
These buttons allows several actions:
![]() Save all the localizations with their features.
Save all the localizations with their features.
![]() Select the point rendering.
Select the point rendering.
![]() Select the heatmap rendering.
Select the heatmap rendering.
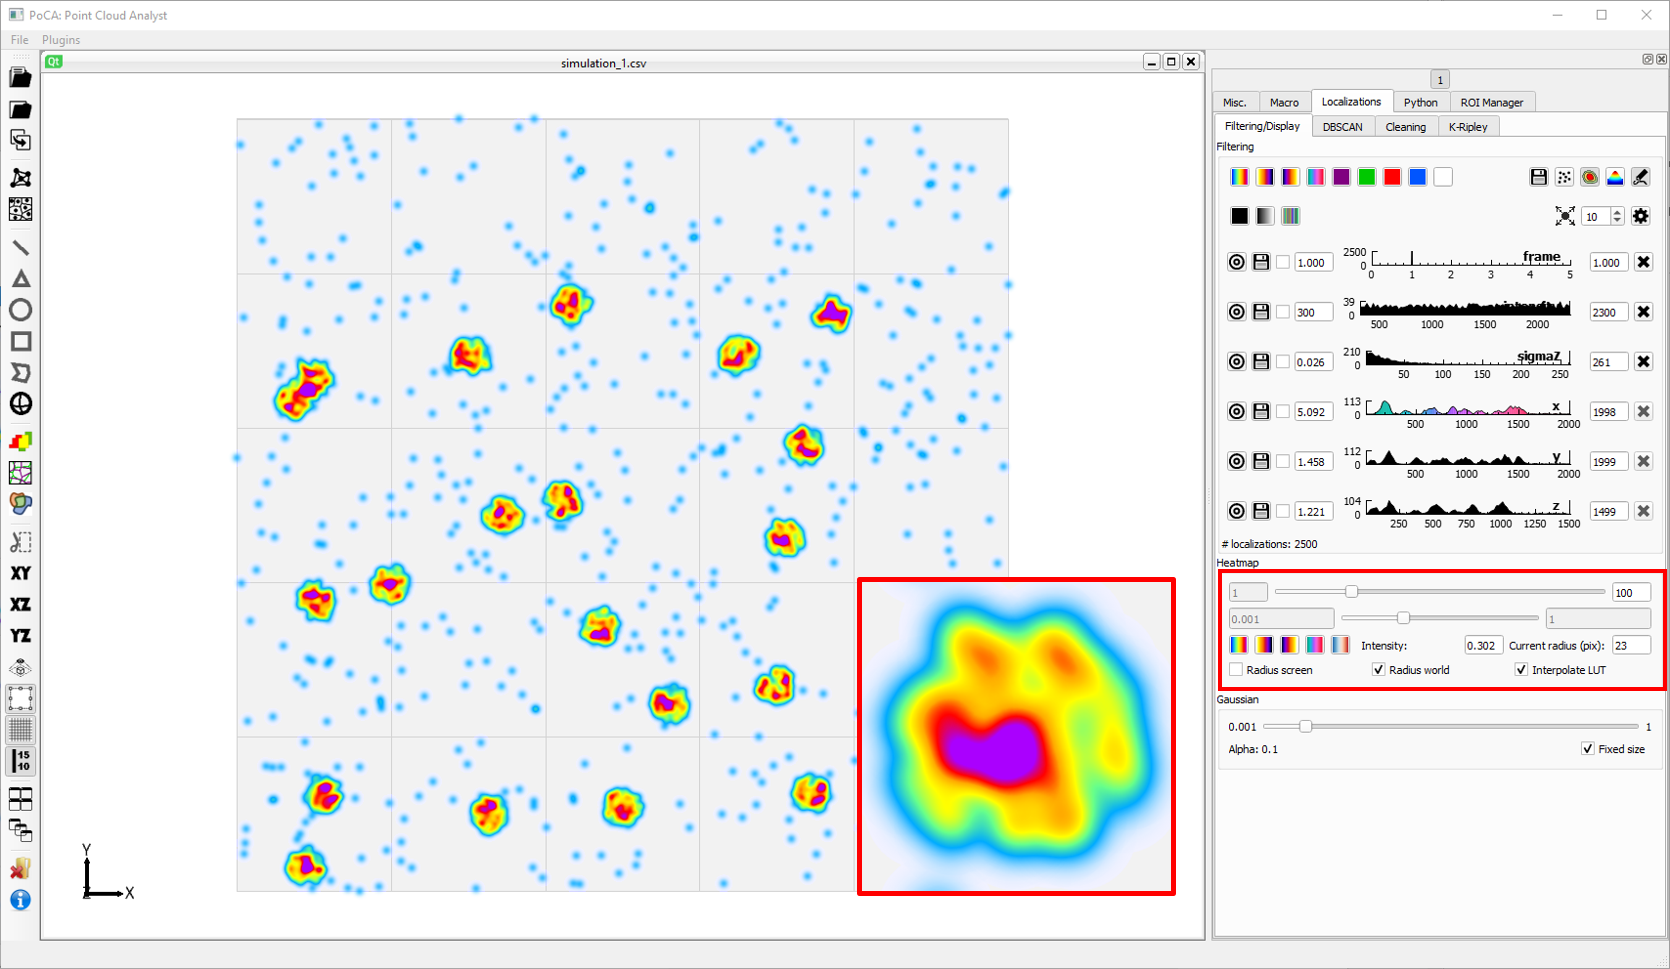
The heatmap rendering project all the localization to the screen and compute a kind of density. As this is done during the rendering step, in the graphics card, this rendering is not quantitative. Parameters to this rendering are available in the Heatmap section.
![]() Select the Gaussian rendering.
Select the Gaussian rendering.
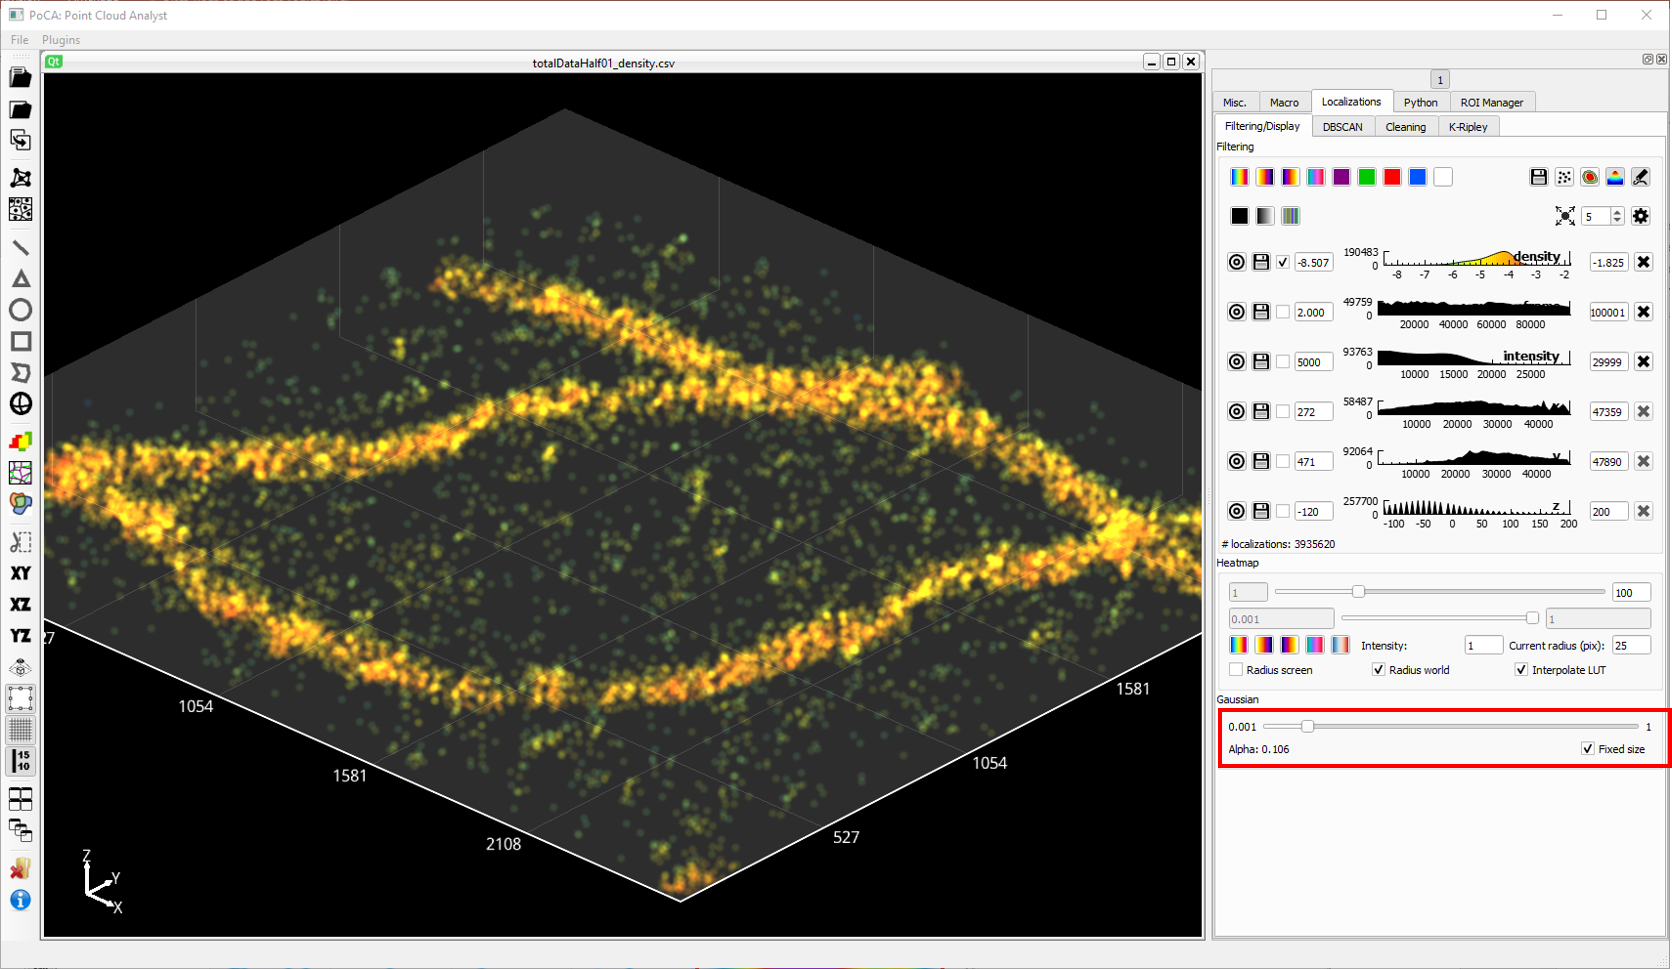
The Gaussian rendering renders the points as Gaussian, in 2D or 3D. It works better with a black background since it requires alpha blending. Parameters are available in the Gaussian section.
![]() Toggle the localization rendering.
Toggle the localization rendering.
![]() Define the size of the point to be redering when the point or Gaussian rendering are selected.
Define the size of the point to be redering when the point or Gaussian rendering are selected.
Filtering

Each feature is represented as an histogram that can be filtered, either by changed the minimum and maximum in the textboxes, or bien clicking on the histogram (left button for changing the minimum, right button for changing the maximum). The target icon is used to select this feature for applying the LUT on the localizations. The floppy disk* is used to save the whole distribution of this feature. The checkbox is used to convert the feature to a log distribution.
![]() This button duplicate a localization dataset with the current filtering. It is available in the PoCA toolbar.
This button duplicate a localization dataset with the current filtering. It is available in the PoCA toolbar.
Cropping
3D point clouds can be cropped to facilitate manipulation and exploration. The buttons are avilable in the PoCA toolbar.
![]() Toggle cropping. It requires to have first selected the XY, XZ or YZ frame rotation.
Toggle cropping. It requires to have first selected the XY, XZ or YZ frame rotation.
![]() Rotate the point cloud to the XY frame.
Rotate the point cloud to the XY frame.
![]() Rotate the point cloud to the XZ frame.
Rotate the point cloud to the XZ frame.
![]() Rotate the point cloud to the YZ frame.
Rotate the point cloud to the YZ frame.
After clicking on the crop icon, you just have to perform the crop on the point cloud by pressing the left mouse button, moving the crop selection to the desired end and releasing the mouse button.
Picking
As seen in the Gifs above, when the mouse passes on elements (localizations, objects, etc…), informations about those elements are displayed in a yellow box, directly on the screen. All the features of the elements are displayed.